
|
Onsite Installer: Send and Manage Emails |
The Send and Manage Emails page allows the user to send Onsite Installer emails to selected customer accounts. Before sending emails, you have the option to select the Onsite Installer Template to use during the Onsite Installer Process for the selected customers. The settings from the Onsite Installer Template are implemented during the Onsite Installer process starting with the Onsite Installer email and ending with the automated configuration and installation of Onsite on a workstation or server on the customers’ network.
Steps for sending an Onsite Installer email to your customers:
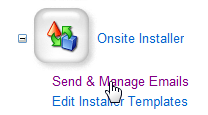
Step 1: Log into Central as an Administrator (Main Admin page displays) and click on Onsite Installer section. Then click on Send and Manage Emails link. This will display the Onsite Installer Send and Manage Emails page.
Note: When you first navigate to the Send and Manage Emails page, the Default Onsite Installer Template and Main Dealer account are automatically selected.
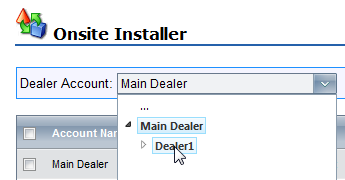
Step 2: Click on the arrow of the drop down box next to Dealer Account and select the Dealer account or customer account that you want to send the Onsite Installer email to.
Step 3: Click on the arrow of the drop down box next to Use Template and select the Onsite Installer Template that has the Onsite Installer Process settings you want to send to the selected customers.

Note: Skip steps 4 thru 6 if each account has the desired contacts selected.
Step 4: Change the selected Contact of a customer account by clicking on the customer account row and then click on the arrow next to the contact name. This will display a drop down box that contains the available contacts for the selected account.
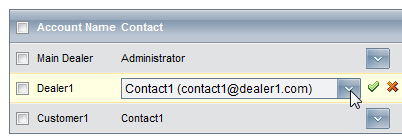
Step 5: Click on the Contact drop down box arrow and select the desired contact. Then click on the green check symbol to save the selection.
Step 6: Repeat steps 4 and 5 for each account you want to change.
Step 7: Click on the Send Email link to send the Onsite Installer email to selected customers. A window will display showing total number of emails (Total Emails), number of emails successfully sent (Success), and number of emails that failed (Error).

Step 8: Click on the close button to close the Onsite Installer Email Status window.
Once the Onsite Installer email is sent, you can track the status of the Onsite Installer Process from the Send and Manage Emails page (Status column). You'll see the following status notes in sequence:
1. Email Sent
2. Process Started
3. Process Finished
4. Downloaded
5. Installed
|
Copyright © 2008 FMAudit, LLC. All Rights Reserved. |