
|
Managed Devices: Customize Device Views |
The Customize Device Views page allows you to customize how device information is displayed on the Device Management Views page.
You can select from a list of 190 different fields of information to display for each device in an account. In addition, you can select which user type(s) (i.e. administrator, dealer, customer, restricted) can view, edit, and/or export the device information. Also, you can apply default and advanced filters and save the edited custom device view for future use.
Here are the steps for editing a custom device view and saving it as a new view:
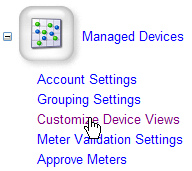
Step 1: Go to the Main Admin page and click on the Managed Devices module. Then click on the Customize Device Views link. This will display the Customize Device Views page.
![]() Alternatively, on the
Device Managed Views page, you can click on the
Customize View button to display the
Customize Device Views page.
Alternatively, on the
Device Managed Views page, you can click on the
Customize View button to display the
Customize Device Views page.
Step 2: Select the view you want to edit from the View drop-down box.

Step 3: Select the field you want from the Available Fields and then click on the single right arrow to move the field to the list of Selected Fields. Repeat this step until all the fields you want displayed are listed in the Selected Fields column.

Step 4: If necessary, select the field you want from the list of Selected Fields and then click on either the up arrow or down arrow to reposition this field.

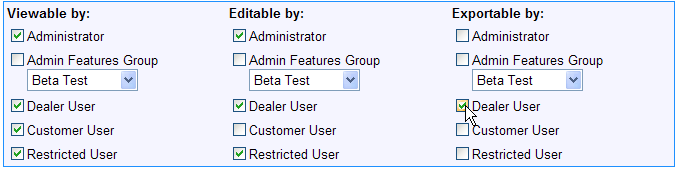
Step 5: Click on the check box of each user type you want to allow to view, edit, and/or export device information.
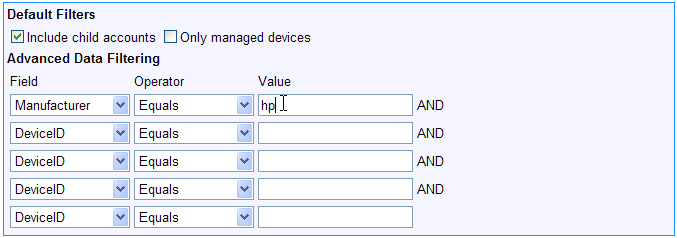
Step 6: Click on the check box of the default filters you want to apply.

Step 7: Configure the advanced filter you want to apply by selecting from the list of fields in the Field drop-down box. Then select an Operator and enter a Value for this field. Repeat this step for up to five advanced filters.
Here is a screen shot of an advanced filter that only displays HP devices:
Here is a screen shot of an advanced filter that excludes HP devices from displaying:

Step 8: Enter a new name for this custom device view in the text box to the right of the Save as New View button. Then click on the Save as New View button to save this device view.
![]()
![]() After saving the edited custom device
view, you can now go to the Account Settings
page or Device Management Views page and select
this new view from the Device View or
View drop-down boxes respectively.
After saving the edited custom device
view, you can now go to the Account Settings
page or Device Management Views page and select
this new view from the Device View or
View drop-down boxes respectively.
|
Copyright © 2009 FMAudit, LLC. All Rights Reserved. |